Getting Started
The Ecomplify Storefront is a modern, fast, and SEO-optimized online store that your customers interact with. Built with React Router 7 and deployed via Docker.
Overview
The storefront provides a complete shopping experience:
- Product browsing and search
- Shopping cart and checkout
- Customer accounts and order tracking
- Wishlist and address management
- Multi-language and multi-currency support
- Multiple theme options
Technology Stack
| Technology | Purpose |
|---|---|
| React Router 7 | Routing and server-side rendering |
| TypeScript | Type-safe development |
| Docker | Container deployment |
| Cloudflare R2 | Static asset storage |
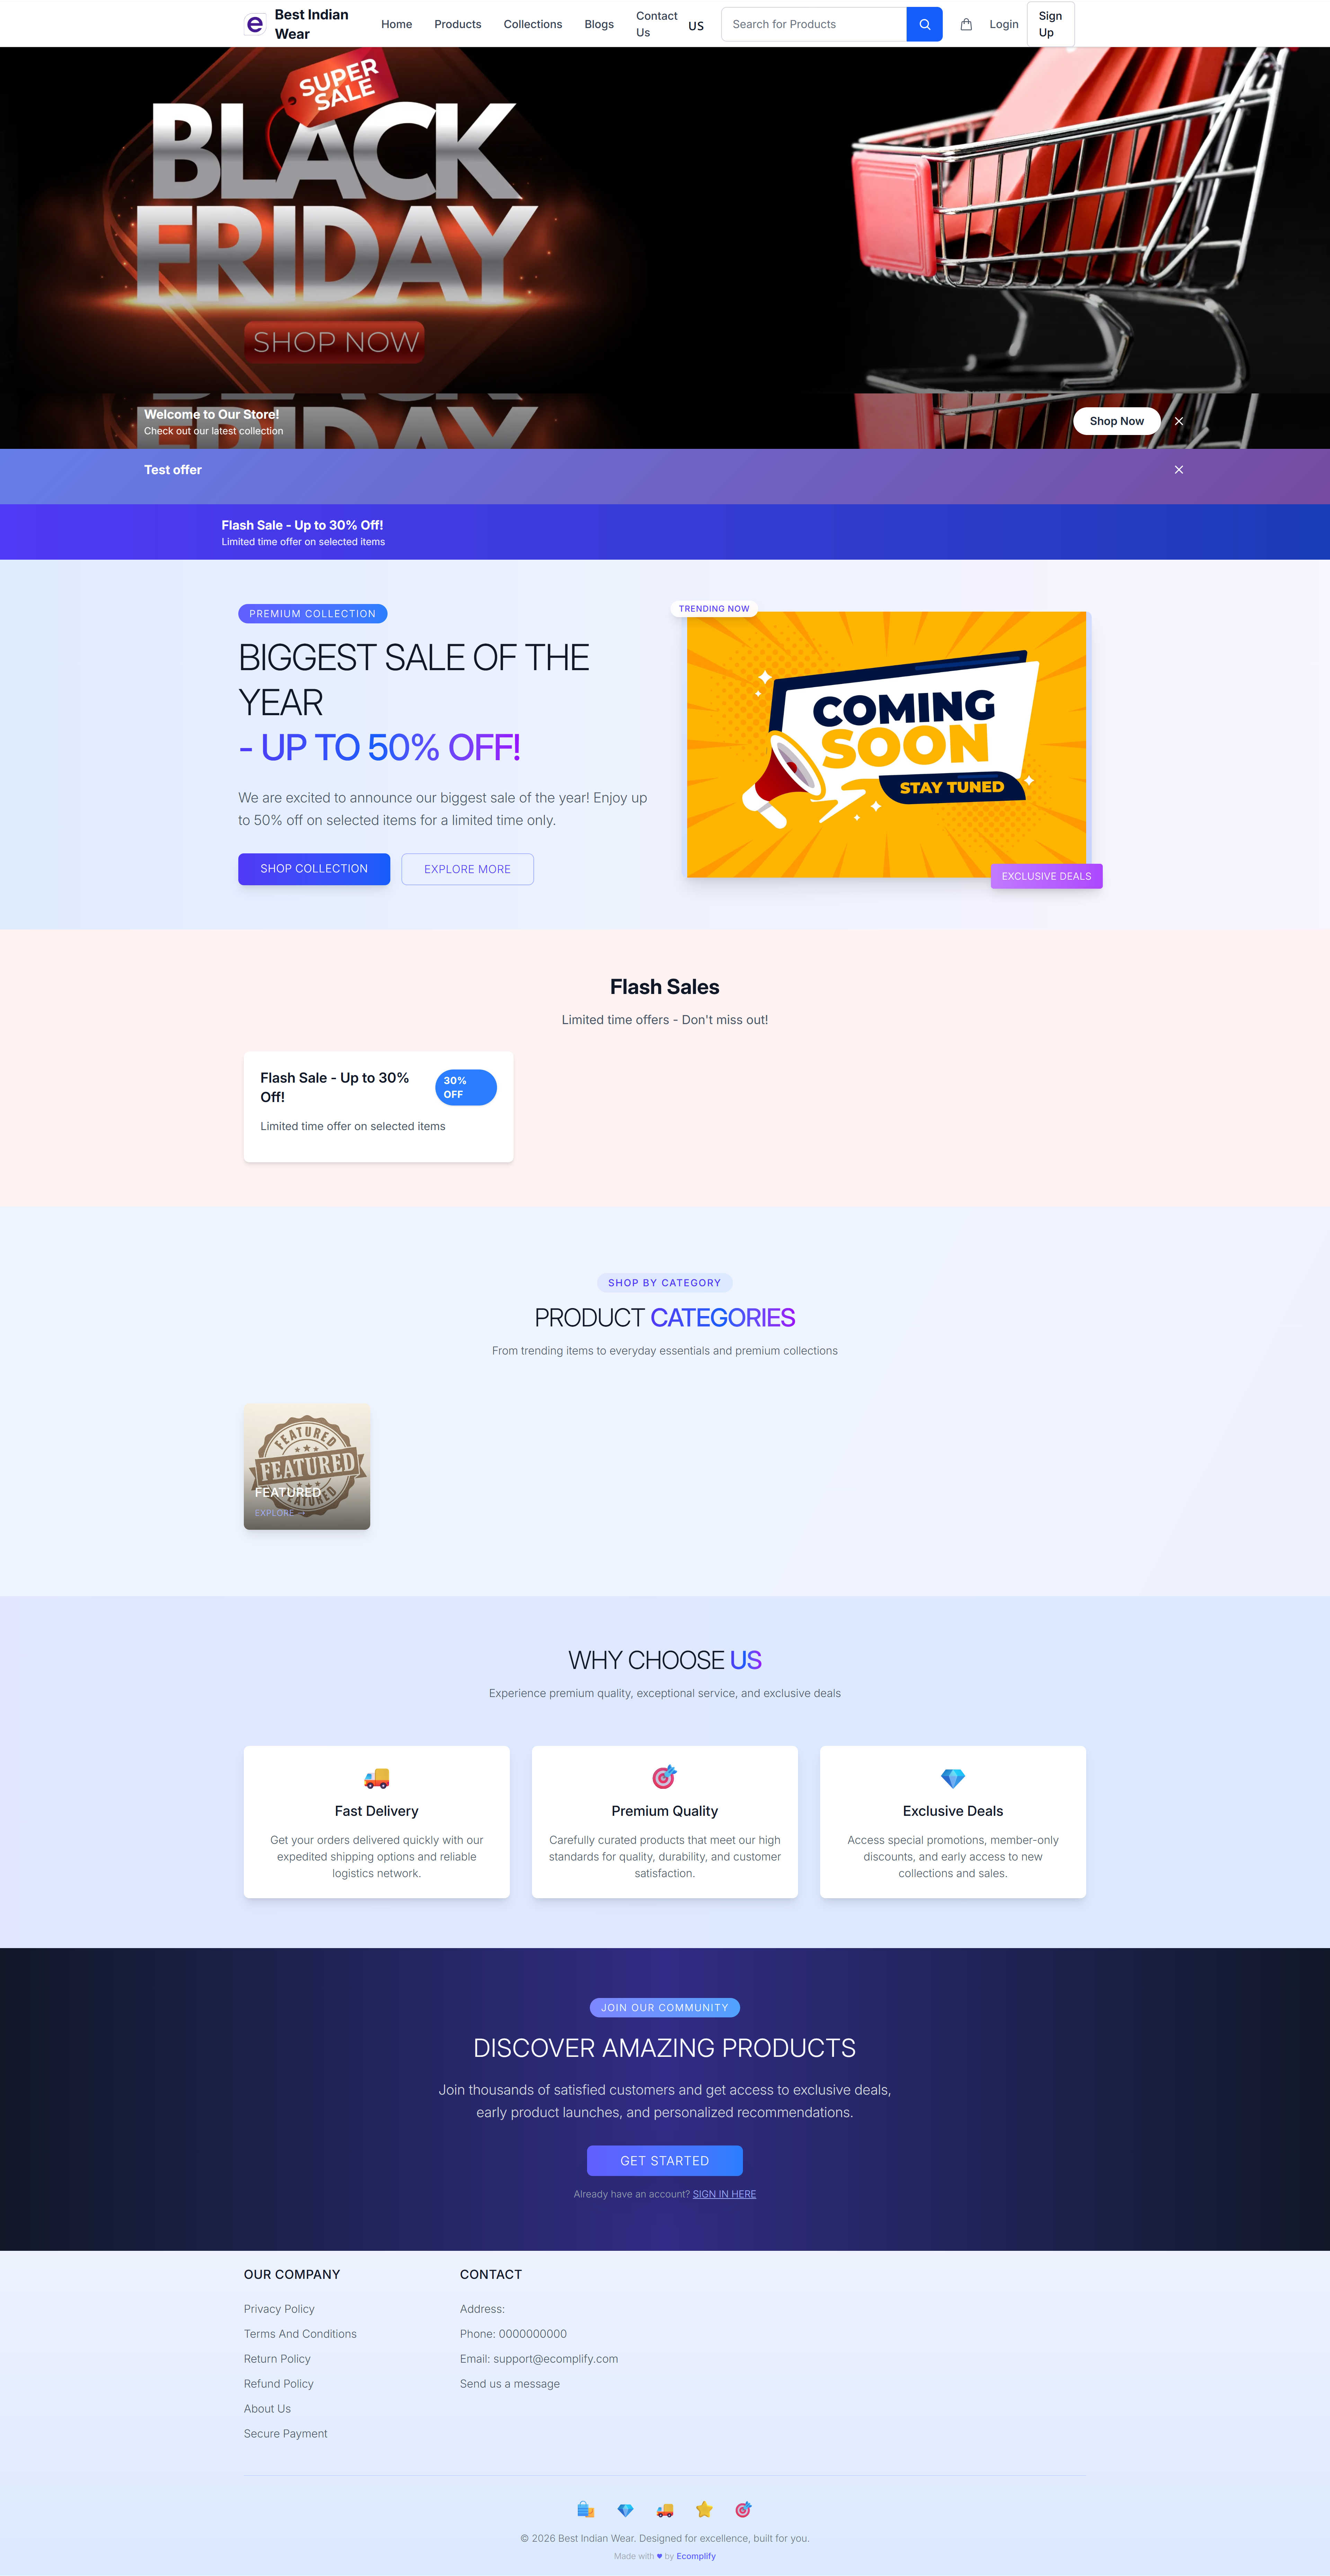
Storefront Navigation
The storefront header includes:
- Store logo - Clickable link to homepage
- Navigation menu - Home, Products, Collections, Blogs, Contact Us
- Language selector - Switch between supported languages
- Search bar - Search for products with autocomplete
- Wishlist icon - Quick access to saved items (with count badge)
- Cart icon - View cart with item count
- User menu - Login/Sign Up or account management
Key Pages
For All Visitors
- Homepage - Landing page with banners, categories, and featured products
- Product Search - Search and browse products
- Product Details - View product information and reviews
- Collections - Browse curated product collections
- Blog - Read store blog posts
- Contact - Send inquiries
- Policy pages - Privacy, Terms, Return, Refund policies
For Registered Customers
- Shopping Cart & Checkout - Complete purchases
- Order Tracking - Track delivery progress
- My Account - Manage profile, addresses, and orders
- Wishlist - Save favorite items
Authentication
Customers can create accounts through:
- Email/Password - Standard registration with email verification (OTP)
- Google Login - One-click sign-in with Google OAuth
Account benefits include order history, saved addresses, wishlists, and faster checkout.
Themes
The storefront supports multiple theme designs that can be switched from the Dashboard. Each theme provides a different visual layout while maintaining full functionality.
Multi-Language & Multi-Currency
The storefront supports:
- Multiple languages configured from the Dashboard
- Currency switching based on customer location
- Region-specific tax calculation